Plant Propagation
Tips on how to make your finger greener
Plant Propagation
Propagation is about providing seeds and vegetative propagation material the best conditions in which they can flourish and grow. A well grown crop is the result of paying attention to the many small details that make for successful propagation. To ensure that propagated material establishes well and quickly develops into a strong, healthy plant you have to control its environment until it becomes established as a new plant.

Propagating from seed
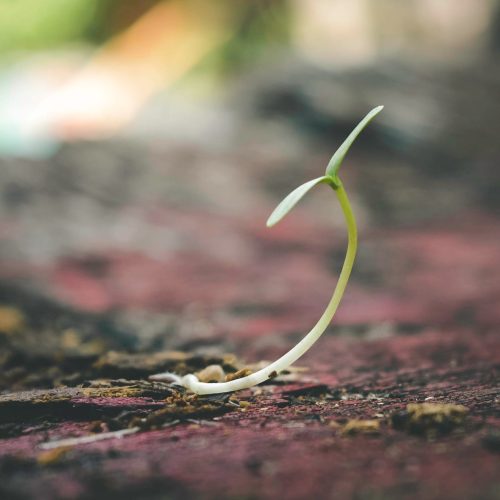
When a seed is mature and put in a favourable environment, it germinates (begins active growth). For successful germination, seeds require certain conditions:
- Water– provided by moisture in the soil
- Oxygen– aerated soil
- Appropriate temperature – all seeds have an optimum temperature for germination
Most prefer to germinate in darkness. although some, especially fine seeds, need exposure to light to germinate. Success also depends on the vigour of the seed. Fresh seed, or seed that has been stored in appropriate conditions will germinate more rapidly and produce more vigorous seedlings than old or poorly stored seed. Seeds have particular requirements when and where they should be sown.
Depending on the species of plant, both low and high temperatures can inhibit germination. The most temperature-sensitive stage in the process is when the seed is first absorbing water.
The following chart outlines suitable temperatures for common vegetable crops:


Percentage Germination
Not all seeds are viable. Many die due to poor storage conditions, old age (some seeds will only last 1 year), overheating when drying, etc. If you are growing commercially it is important to know the percentage germination of each plant crop. A simple germination test can be carried out;
100 seeds are moistened and placed on blotting paper, the amount that germinate are counted to give the percentage of success. This needs to be taken into consideration when sowing seeds and allowances must be made for the amount that is going to be unsuccessful in germination.
Propagating bulbous plants
Bulbous Plants include tubers, corms, true bulbs and rhizomes. These type of structures are necessary to store food reserves and nutrients to keep the plant alive during dormancy and unfavourable growing periods for example during drought.

Stem Tubers
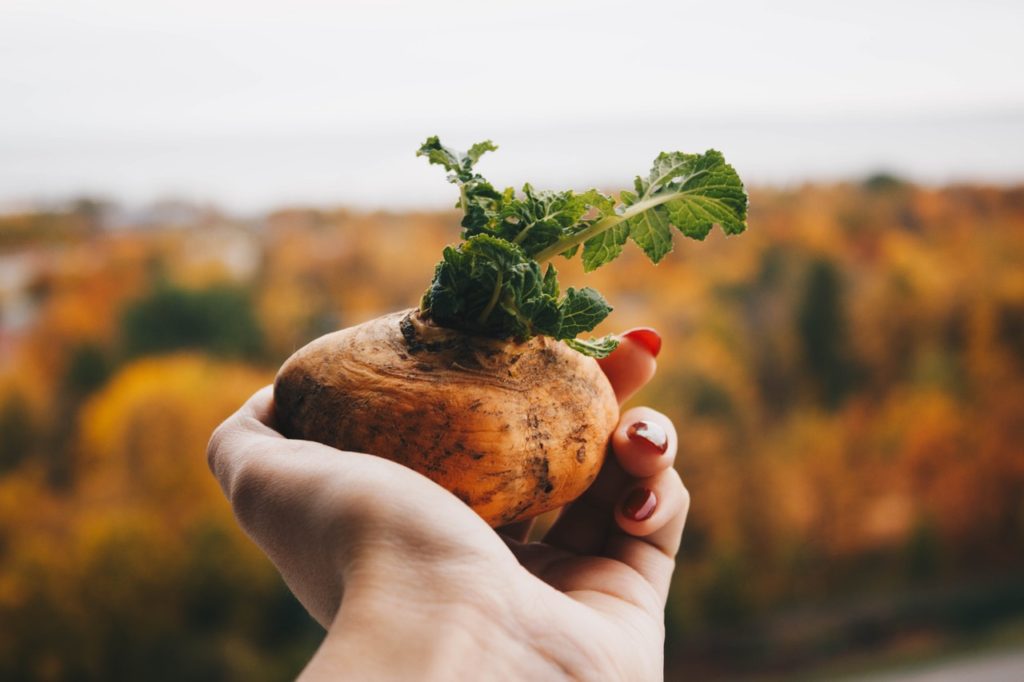
Stem tubers are also called true tubers as opposed to tuberous roots (i.e. Jerusalem Artichoke). They are larger structures that store nutrients and food to help the plant survive in unfavourable weather conditions. Their growth is encouraged by shorter days and lower night temperatures.
The most common example of a stem tuber is a potato.
Although propagating potato tubers can be done successfully by cutting the tubers into smaller pieces, it is not recommended as good practice in organics as new plants propagated in this manner can be more susceptible to blight. However, if you have an old heirloom potato variety that you want to increase your supply of, then you can do this by dividing up the tubers as follows:
- Cut tuber into pieces with a sharp knife. Ensure each piece has at least one good ‘eye’. ( this can be done a few weeks before you plan to sow your potatoes)
- Dust all cut surfaces with copper sulphate or lime. Place on a wire rack in a warm dry place
- Once the tuber pieces have formed a protective corky layer, (usually takes a couple of days) you can chit them in the same manner as you would regular seed potatoes
Corms
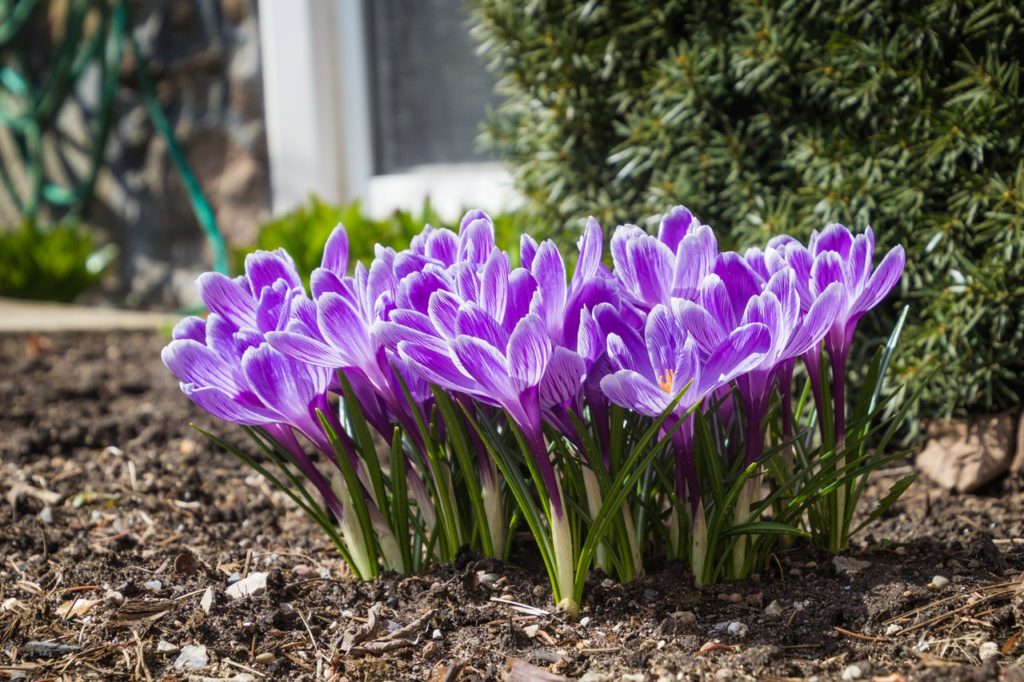
A corm is a swollen base of a solid stem surrounded by scale leaves. The leaves are attached to the stem at distinct nodes which have a bud at each axil. The bud will develop into leaves and also the flowering shoot. the swollen stem base contains nutrients for the developing plant, i.e. Crocus.
Normally plants with corms will propagate naturally to give sufficient new plants. However, if it is necessary to bulk up supplies more quickly, an artificial technique should be used. Always buy corms from a reputable specialise grower, because it is vital to propagate from disease-free corms.
In some plants, the corm naturally divides into several over a few years which will produce a large clump. That will need to be split every so often to promote flowering. The division should best be done in autumn.
- Carefully dig down in the soil with a trowel or hand fork and gently lift, separate and replant the corms at the original depth
- Chains of corms can be replanted intact or individually separated; there is evidence that maintaining the chains intact may be the better option. On smaller corms, or those that have few buds, you can remove the main stem by snapping it off or cutting it out to induce side buds to form. You can use a natural fungicide such as copper sulphate to dust all cut surfaces. Dig a hole twice the depth of the corm in the open ground and plant out immediately
- Another way to propagate corms artificially is by cutting them into several smaller sections while dormant. Having dusted each cut surface with a natural fungicide leave the pieces for 24-48 hours in a warm dry place (18-21ºC) to allow the cut surfaces to seal. Once the pieces have developed a corky layer over the cut surfaces, plant each singly in small pots of potting compost. Grow them on until large enough to plant out in the garden


Bulbs
The term ‘bulb’ is used by most people to refer to plants that have underground, fleshy storage structures. Only some of the plants commonly called bulbs actually are bulbs. The definition of a bulb is any plant that stores its complete life cycle in an underground storage structure.
Bulbs or bulb-like plants are usually perennials that have a period of growth and flowering. This is followed by a period of dormancy where they die back to ground level at the end of the growing season. For spring bulbs, the end of the growing season is in late spring or early summer. Spring bulbs start to grow again in the autumn and flower the following growing season.
True bulbs are among the easiest plants to propagate as they readily multiply naturally (by division) producing ‘bulblets’ from the parent plant.
A true bulb has a short and vertical stem with fleshy scale leaves. New bulbs develop in the axil of these leaves. The flower bud and foliage leaves grow up from the centre of the bulb. This type of modified stem serves as an underground food storage organ which allows the plant to remain dormant until conditions are favourable, e.g. Daffodils, Tulips and Onions.
In general the best time to divide up bulbs is in autumn time – after the foliage has died back. In some bulbous plants such as tulips the original bulb disintegrates after flowering, leaving a cluster of small bulbs as well as a new flowering bulb. In autumn, pull these apart and plant hardy bulblets out at twice their own depth, while small or tender bulblets benefit from growing on in containers until they have reached a larger size. Smaller bulbs may take 2-4 years to flower.
Some lilies produce bulblets while others develop bulbils, which can be found in the leaf axils of some species in late summer or autumn. After flowering time, collect the bulbils off the plant as they mature. Set them 1 inch apart in a pot filled with potting compost, cover with some grit and place in a cold frame. Keep frost free over winter, and plant out the young plants the following autumn.
Rhizomes

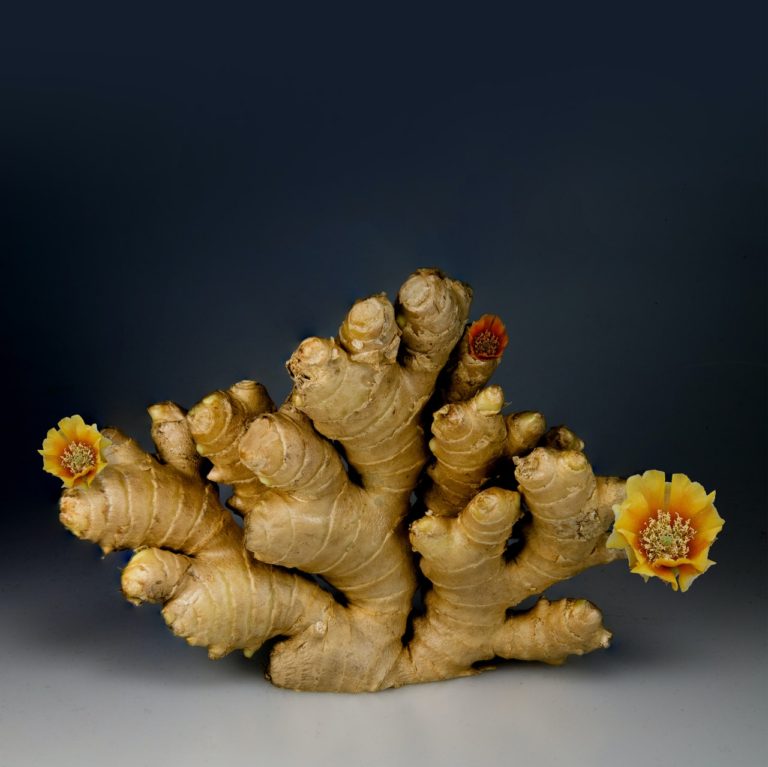
Rhizomes are specialised stems that grow horizontally on the surface or underground. The stem is segmented and made up of nodes and internodes. Leaves and flowers develop from lateral or apical buds on the stem. Roots also grow from these points. The underground stem is not a root as it differs, due to it growing leaves, nodes and buds. Examples are ginger, couch grass, bamboo or mint. On some plants this rooting structure can become invasive.
Rhizomes readily develop their own roots, leaves and shoots when separated from the parent plant, that is the reason they are so easy to propagate.
A rhizome is a perennial, and it can be propagated artificially by division at any time of the year
- Replant each rhizome at the original depth on a ridge with it s roots spread out at either side
- Firm back the soil over the roots. Barely cover the rhizomes of irises and settle in by watering the soil. Replanting irises too deeply will prevent the plant from flowering for a couple of years until the rhizome raises itself to soil level
Source: The Organic College Drumcollogher
